Although a new bathtub can be installed with little effort, installing the new bathtub will require specific knowledge and tools.
Most importantly, even minor errors can cause expensive flooding. There are two methods to install bathtubs mounting on a frame support or installing within a bathtub support constructed from rigid foam.
General preliminary work
The area that sprays from the bathtub should be water-proof regardless of whether it has been tiled later. Therefore, you must apply a special sealant to the wall that is above the bathtub. Based on the material it could be necessary to prime your wall using a strong primer prior to. Apply an elastic sealing tape on the corners. It is easy to add this onto the painting.
Theoretically, it is possible to apply the paint once the tub is standing. However, I believe it’s better to paint before. You can then put the paint in a bit behind the tub, not on top of it. However you’ll need the sealing paint for encasing your tub sealant tape at some point.
The flooring beneath the bathtub should be solid and weight-bearing. If the building is old or with ceilings made of wooden beams that can collapse due to the bathtub’s weight particular care is needed. It is crucial to have a reliable waterproofing to stop moisture from getting into the wood structure. It is recommended to consult an expert prior to making any decisions.
Installing a bathtub with tub feet
If you’ve made the decision to set your bathtub on solid base, you’ll need bathing feet which go with the bathtub. They’re more or less generally applicable, however the devil’s in the details. To help support the edge of the bathtub the bathtub rails should be hung on the wall. The bathtub anchors are usually sold in sets along with the feet for the bathtub, however, they can also be bought separately.
1.1 Mounting the fixing rails
Most bathtub feet comprise fixed rails that can be fastened and adjustable feet. The rails need to be attached onto the underside of the tub. This is applicable to tubs made of steel, and acrylic tubs. Be sure to use right screws to avoid harming the bathtub.
The place you fix your feet on the bottom is your choice. Be sure to ensure that the tub feet don’t hinder connecting to the wall or block the path of drain later.
1.2 Screw on the feet
Screw two feet on each rail. But, don’t tighten the tub feet until you are ready. You must first place the tub horizontally after flipping it. Because of the adjustable feet that allow unevenness to be easily leveled out.
Take the spirit level and then bring the tub into an upright position. You can now make sure that the screws are tight on the feet.
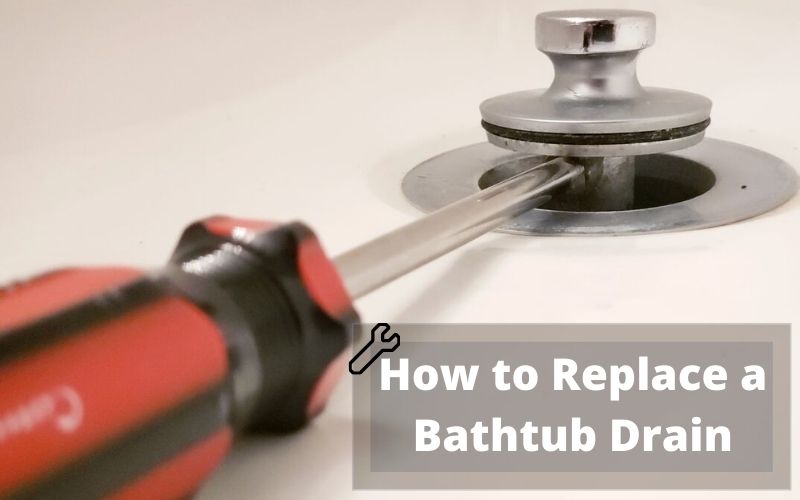
1.3 Installing the drain and overflow fitting
Install to connect the fittings for the drain as well as the overflow. Sometimes they’re included when you purchase the bathtub, but for other bathtubs they have to be purchased separately.
The first step is to take care of the overflow. Mount the profile gasket as well as the body for the overflow. Then , turn the mounting flange to the body of the overflow and close it. Set the rotary knob onto the body that is overflowing.
We now proceed to the drain. Place the sealing ring using the screws-in valve from the top of the drain. Install the appropriate seal on the siphon and then guide it downwards into the drainage hole. Then connect the screw-in valve to the siphon. In between is the bathtub.
Attach the drain pipe, and connect the drain valve on the upper to the siphon. Typically, you will need cut it to the size you want.
1.4 Anchoring the tub to the wall
To ensure that your bathtub is stable later on the wall, it is recommended to attach them to your wall using bathtub strips. The long side is the shorter side. Tub anchors and tub strips are needed for both steel and acrylic tubs. Furthermore, the strips are typically equipped with sound-proofing. They block sound transmission from the tub’s body towards the wall.
Then, to install strip bathtubs: mark your bathtub’s lower and then move the bathtub towards the side. Expand the mark onto the wall with the help of a spirit level. Both sides.
The strips should be placed so the top edge is in contact with the line of marking. Then, you can draw the holes for drilling. Make the holes, then fix the tub strips onto the wall. Be aware that certain wall structures require special screws and dowels.
Sometimes, special clamps are needed. Install them according to the specifications of the manufacturer. Some tub strips are adjustable in height. In this case, you can readjust the height the height a bit later.
1.5 Sealing the bathtub
Then the transitions between the wall and tub are sealed by using the use of silicone. But, this doesn’t make it a fully sealed seal. Silicone is prone to becoming friable as time passes, and water can seep into the wall. So a sealing using bathtub sealing tapes is required in all cases.
Tub sealing sets comprise comprising tub sealing tape as well as corners that are sealed. The first step is to glue the corner on the bath. Make sure that it’s in line with the bottom edges of the tub’s.
If the corner of the sealing does not fit then the sealing tapes are joined to it, overlapping one another. Cut the tape according to the width and length of the tub. Then, adhere it to the edges of the tub to ensure that it’s level at the bottom.
You can now glue an insulation sound tape over the tapes that seal the tub. It stops any sound transfer from the tub to the wall and in reverse, of course.
1.6 Connecting the bathtub
Place the bathtub into it’s final location. Connect the bathtub to the rails of the bathtub and secure them.
It is now crucial connecting the overflow and drain connections to the wall. To do this, you must align the drain connection piece to the drain fitting in order that it is joined to drains in the fastest possible manner.
The connection is typically made using HT pipes that are easily cut with the aid of a metal saw. The cut edges should be smoothed out so that minor leaks don’t occur in the future.
To ensure that bath water drains properly it is necessary to have a gradient of at minimum 2 percent must be maintained between the fitting for draining and wall connections. To ensure that the pipes will not slide, they might need to be buried. For instance, using the residues of hard foam or tiny wooden panels.
1.7 Sealing the bathtub – Part 2
Finish the bathtub seal today. Paint a small section on the walls with the liquid seal directly over the bathtub. Seal the tape in the moist seal, then apply the sealant tape to the wall with the sealing compound that is liquid.
Before doing this, you should cover the edges of the bathtub with the soundproofing tape. This will take care of two birds with one stone. You stop the edge of your bathtub from becoming stained as you paint it, and you can then place tiles on the tape. After tile installation the tape, it’s removed from the joint and then filled with silicone.
1.8 Carry out leak test
Before covering the bathtub, make sure that the drain pipes are secure. To check this make sure that the tub is filled halfway and ensure to see if the drainpipe has been shut.
If everything is in good order If everything is in order, let the water flow out. Utilize your hands to verify whether the connections to the pipe are cleanly connected and sealed. If the water drips out of an affixed connection you need to fix the problem and then repeat your leak tests until all is dry.
1.9 Covering the bathtub
There are three basic methods to protect your tub
*Apron
*building slabs
*bricklaying
The cladding that has an apron is definitely the most simple to construct. It is perfectly suited to the tub built in and needs to be connected to it. There are no tiles, and there is no sawing, nothing is needed. If, however this may be too risky or you’d prefer to have a tub that is tiled, this can only be achieved by using construction panels or brick walls.
The cladding made of building boards is more difficult. The boards must be cut to the required size and then affixed to the floor, wall and the tub. If you are required, you might be required to add a revision flap around the drain. However, it’s not a requirement. It is a good idea in the event in the event of an emergency.
The most complex, and also the most durable method of construction is to build the side wall using bricks. Aerated concrete blocks are typically employed for this purpose. They are lightweight and simple to cut into dimensions. It is necessary to cut lots when the floor plan of the tub isn’t straight and rectangular.