Removing the tub isn’t as easy as it appears but. So, how do remove the tub without causing harm to tiles? Do not use any heavy tools or placing additional pressure on the tub for instance. Be sure to cover the tiles to avoid gauging and scratching. If you are able to get the tub out of the bathroom door and not break it, that’s great too.
Step 1: Measure
Begin by measuring the width as well as the length and the height of the old tub. You should ensure that you have the most wide points to avoid any issues. Measure the doorframe from the top to the bottom, too. It is crucial to measure the doorframe accurately to allow for easy removal.
The goal is to determine whether the old tub can be taken away without having for it to break. The need to break the tub down could be a hassle. It’s one thing, but it’s a huge cleaning effort. Additionally, the pieces may cause damage to the tiles of the bathroom flooring. Be aware of if you are able to remove your tub immediately before undertaking any other work.
Step 2: Removing the Door
If the measurements you have chosen don’t work taking the door off is the best alternative. Unscrew the door from its hinges with a screwdriver in case the tub isn’t big enough to fit. Be sure to place the door away from the way so it won’t fall in the process of moving.
Make sure to shut the hinges of the doorframe prior to moving. Also, ensure that there aren’t any screws visible as they can cause injury quite a bit if they fall on them. It is set to be used for the tub.
Step 3: Clear Obstacles
If there is any issues, they’ll have to be cleared. In bathrooms with smaller spaces, this may mean removing the toilet to create more space for the removal of the tub. Moving around in the bathtub be challenging and risky and therefore, make it easy on your own.
Step 4: Cover the Tiles
Layer a sheet of cardboard on the bathroom tiles. After the cardboard has been laid down equally, cover it with a plastic sheeting. Tape the corners and edges to make sure it doesn’t shift or lift up in the process of removing the tub.
Be sure that the covers do not overlap with the caulk that is at the base of your tub. You’ll need to get rid of the caulk, and the cover may block your view or shift during the move.
Step 5: Shut Off the Water
With the protective layer put in place, it’s time to get ready for the move of your tub. Start by shutting off the water off. When the water is shut off, loosen the knob covers that cover both hot and cold water knobs. Be careful not to do this in order to prevent damage or breaking them.
Once the knobs are removed and the screwdriver inserted into the hole of the downspout. Turn the downspout while you go. Continue to loosen the screws until the downspout comes off completely. Place this tool in a bag if intend to sell the tub. Otherwise, dispose of it in the event of removing the tub.
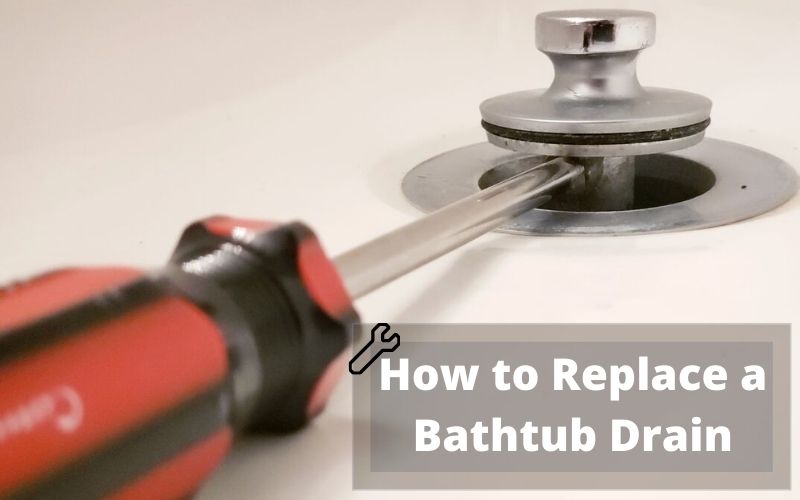
Step 6: Removing Pipe Components
After the downspout issue has been resolved it’s time to unbolt the components of the overflow. Unscrew the pipe that is used for overflow, and the valve’s cover as well as the waste catch. A pipe wrench will work well for this task.
Once you’ve removed all these parts, remove locks. Be sure to hold the drainpipe securely using an adjustable wrench when you go through this step.
Step 7: Cut Old Pipes
Next step would be cutting through the overflow pipe on the wall. A handsaw will work to do this, however the electric saw or battery will also work. Older pipes are generally constructed of more durable metals and require a cutting blade that is capable of cutting through them.
For such projects choose a metal cutting blade made for iron, or cutting blade made of masonry for cast iron pipes. They can cut through any type of old pipe with ease and will not cause stress or strain when cutting.
Step 8: Unscrewing the Water Lines
The water lines must be pulled out of your faucets at this moment. Utilize a spanner and gently remove the water lines since we’ll need them in the tub that will be built.
In the case of the pipes close to the tap tails, it is possible to make use of circular saws if you can’t remove them with the screwdriver. If you’re able to take the parts off using your hands, use that first because it is more secure and precise.
Step 9: Caulk Remover
We now need to address the caulk that is between the tub, the wall as well as the floor. Apply a thin layer of caulk remover for each layer. Be sure to make use of the caulk remover to eliminate the caulk that is forming around the downspout and faucet.
Follow the manufacturer’s directions as far as the time it takes for the caulk to melt. Once the required period duration has been reached, apply the knife of a utility tool to cut the caulk. You might need to scrape or peel some of the caulk which has softened off the wall, tub, or floor however, make sure the caulk is removed completely.
Step 10: Pry Up the Tub
The lines are now disconnected The older pipes are removed and the caulk is gone and it’s time to lift the tub out. Take care to remove the tub from the floor and insert pieces of wood beneath to secure it from the floor.
Then, gently pry the tub off the wall and insert more scrap pieces to prevent it of the walls. The aim is to insert enough pieces so that the gap is large enough to allow your hand to fit.
Step 11: Slide the Tub Away
It is in good condition to go. Take a firm hold of the tub, then move off from wall. Take extra care to not scratch the tub or let it fall off from the wood scraps. You should continue to slide the tub away from the wall so that the walls do not cause problems when you are ready to take it off completely.
It’s recommended to place a carpet roller on an end of your tub and lock the wheels. It will stop the tub from moving and provide the tub a further level that will give it stability till the tub has been taken away. The tub should be lifted to the opposite end until it lands upon the roller of carpet. It is then easy to slide it across the doorway (if it’s suitable) as well as out of your home.
Step 12: Breaking Apart the Tub
If you’re breaking the tub to remove it the tub, there is a safe and responsible method of doing this. Place a tarp or an old blanket on the top of the bathtub. Make sure to use an sledgehammer for breaking the bathtub into pieces.
Make sure you strike the sides so that you don’t hit the bathtub from below. The force may transfer to the flooring, breaking, chipping or otherwise breaking the tiles that are beneath. You then can remove the bits from the tub and dispose of them easily.
Related Questions
Does Removing a Bath Devalue Your Home?
In many contemporary homes, people choose standing showers as an alternative to traditional tub. While standup showers can be less cumbersome to use and possess an elegant look however, it’s not recommended to remove the tub.
Bathtubs are an essential feature for families, specifically families with children. If you decide to take the bathtub from your home could harm its value to your house over the long haul. If you are planning to sell the house in the near future, getting rid of the tub could be detrimental to your final goal.